The 6 Steps to Mounting a Photograph
Step 1: Flatten the Image

When working with silver gelatin prints, they tend to get curled during the drying process. This curling can make trimming the image difficult, so it is extremely important to flatten the image in the dry mount press prior to mounting the adhesive onto the back. It is also very important to let your photograph dry completely before mounting. You can easily flatten your image by placing it between two sheets of mount stock into the dry mount press without totally closing the press. This allows enough heat to transfer to the photograph to flatten it out prior to mounting.
Step 2: Tack Mounting Adhesive to the Photograph

After you have flattened the image the next step is to tack the mounting adhesive tissue to the back of the loose print. You apply the mounting tissue prior to trimming the photograph because you want the tissue to be in line with the print and trimming after allows for a flush cut. You begin tacking your print by flipping the photograph over so it is facedown but still oriented the correct way. You then gently apply pressure to the upper right and lower left hand corners with your tacking iron. By sticking the adhesive to these corners, it will allow easier application of the tacking tissue to the print in step number 4.
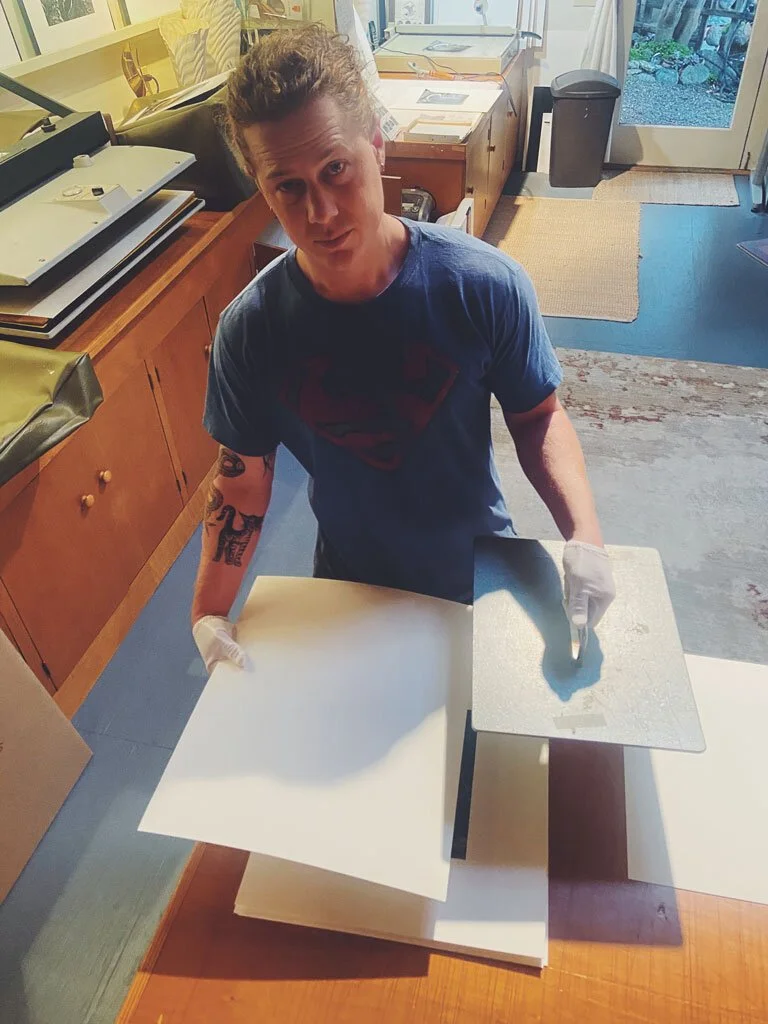
Step 3: Trim the Photograph to Desired Size

After you have successfully tacked the tissue to the back of the photograph, the next step is to trim the photograph. This trim will depend on what size your finished print will be. We print using standard papers so we are trimming the least amount as possible during this step. An important factor to take into consideration is that the first cut you make will be what you square the rest of the cuts off of. The first cut will be a free-hand cut where you don’t have one of the print sides up against a border to create a square. So when making that first cut, be sure to be as square as possible so you aren’t chopping off a bunch of your print when you go to square it up. After you make that first cut, you then rotate the print placing the freshly cut side against a border to make the image square. You proceed this way until the photograph is trimmed on all sides. Be sure to look at your photograph before moving onto the next step to make sure you haven’t left any black borders, or distracting marks that you will regret after mounting!
Step 4: Tack the Photograph Onto The Mount Board

Now you are ready to stick the tacking adhesive onto the mount board. We have cut out windows that we use to line up our prints on the matboard. There are many different ways that you can go about lining up your photograph so pick the method that best fits your style. Our windows are already cut out and correspond to print and mount stock size which makes it easy to span a variety of different sizes. Once you have your print lined up correctly, peel the top right corner of the photograph and apply your tracking iron to the tacking tissue. Once complete, repeat the steps to the bottom left corner of the photograph. If done correctly, the photograph should be stuck to the mountboard and be perfectly centered!
Step 5: Place the Photograph into the Mount Press

The next step is to place the photograph into the mount press. This is the step where things can get tricky as the photograph is most susceptible to damage. It is always smart to make sure your dry mount press is clean of debris and dust to the best of your ability. We have a piece of mount stock inserted into our mount press that faces the prints when they go in and we like to take it out and shake it really well to get rid of any loose particles. That being said, sometimes no matter how hard to try, something finds its way in to damage your beautiful photograph. Depending on what kind of mounting tissue you are using, you will want to set your dry mount press from 170 - 200 degrees F. Some swear by lower degree mounting tissue to prevent bubbles but have found when working with silver gelatin photographs setting the press to 200 degrees works just fine. When placing your photograph into the press, have a piece of mount stock placed at the top so your print isn’t facing the top of the press directly. This provides some safety from damage during this process. We dry mount press our photographs for 3 minutes at 200 degrees. When the print is finished, it is always smart to check your print for dings. If you notice any, make sure to take out the mount stock and shake it out before placing another photograph inside.
Step 6: Place the Photograph Under a Weight
The last and final step is to place the freshly dry mounted photograph under a weight. This allows the mounting tissue to fully stick to the print and mount stock and have a good seal. You don’t have to leave it overnight but we recommend 30 minutes to an hour. Be sure to lay a piece of mount stock in-between the print and the weight to prevent any dings as well. While you wait you can get the spotting station ready!